Compile-time vs. Runtime configuration of your Angular App

When you develop a bigger application, chances are quite high that you need some kind of configuration. That can range from simply visualizing the app’s version number to injecting custom themes etc. In Angular you have different kind of approaches: compile-time and runtime configurations. Let’s take a look at both of them.
Compile-time configuration
What is compile-time configuration? It basically means that you compile your configuration into your app, at the time when you compile and bundle it. If you’re using the Angular CLI there’s already a preconfigured setup for having such compile-time configuration options.
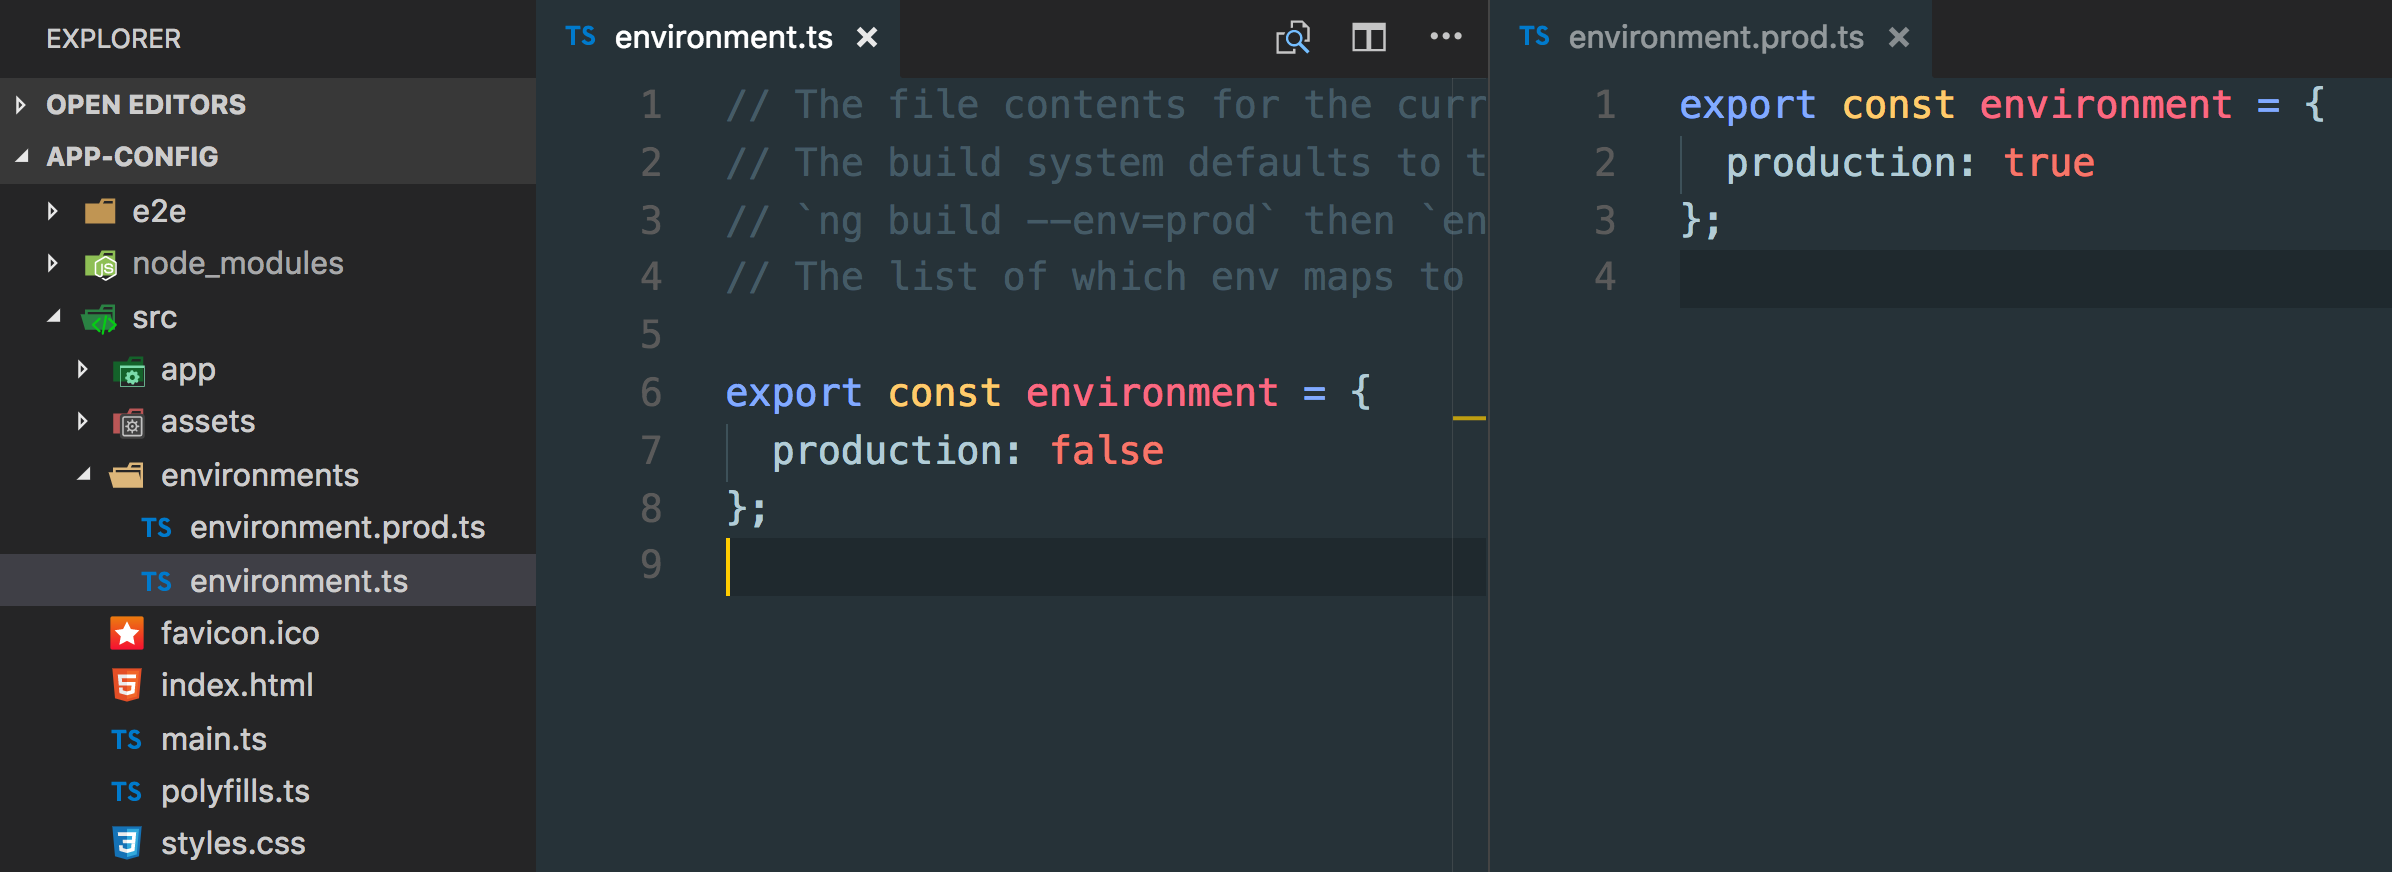
Inside the environments folder you have a environment.ts and environment.prod.ts file.
// environment.ts
export const environment = {
  production: false
};
// environment.prod.ts
export const environment = {
production: true
};Since these are just plain JavaScript objects, you can add your environment specific properties on them.
The default main.ts file that is responsible for bootstrapping our Angular application uses those environment files to determine whether the app is running production mode, in order to apply some runtime optimizations such as calling enableProdMode().
import { enableProdMode } from '@angular/core';
import { platformBrowserDynamic } from '@angular/platform-browser-dynamic';

import { AppModule } from './app/app.module';
import { environment } from './environments/environment';

if (environment.production) {
  enableProdMode();
}

platformBrowserDynamic().bootstrapModule(AppModule)
  .catch(err => console.log(err));
You can arbitrarily get a reference to that environment object by simply importing environment.ts into your file.
import { environment } from '../environment/environment';

// do something meaningful with `environment`
console.log(environment);
Note, we’re always importing environment.ts and never an environment specific file such as environment.prod.ts. The reason is that at compile time, the Angular CLI will take care of renaming the environment specific configuration file into environment.ts and to compile it into your app accordingly.
You can also create new files, say for your “staging” environment. Just create a new environment.staging.ts and make sure to configure it in your angular.json file:
{
  // ...
  "projects": {
    "demo": {
      //...
      "architect": {
        "build": {
          "builder": "@angular-devkit/build-angular:browser",
          // ...
          "configurations": {
            "staging": {
              "fileReplacements": [
                {
                  "replace": "src/environments/environment.ts",
                  "with": "src/environments/environment.staging.ts"
                }
              ],
              //...
            },
            "production": {
              "fileReplacements": [
                {
                  "replace": "src/environments/environment.ts",
                  "with": "src/environments/environment.prod.ts"
                }
              ],
              //...
            }
          }
        },
        //...
      }
    }
  }
}
Finally, we need to tell the CLI which environment we’re building for, s.t. it is able to pick up the proper configuration file. That happens in the scripts section of our package.json:
{
  ...
  "scripts": {
    "ng": "ng",
    "build": "ng build --prod",
    "build:staging": "ng build --prod --env=staging"
  },
  ...
}
Note, we’re passing in the --env=<your-environment> flag. the --prod is a built-in command which automatically uses the production configuration already, if not specified otherwise. Moreover it also enables the AOT compilation.
Runtime configuration
If however you need to be able to change your app’s configuration settings or maybe you even expose them via an API, then you need to use a runtime configuration approach. Normally you simply have some JSON file - say appConfig.json that contains the necessary configuration options which you then deploy with your app on your server. When your app runs, you execute an HTTP request to that JSON file and read the settings.
What you want however, is to start your app only after your settings have been loaded and applied. A naive approach could be as follows. In your app.component.ts you simply add an *ngIf guard:
@Component({
    selector: 'app-root',
    template: `
        <div *ngIf="configLoaded">

        </div>
    `
})
export class AppComponent implements OnInit {
    configLoaded = false;

    ngOnInit() {
        this.http.get('./assets/appConfig.json')
            .subscribe(config => {
                // do something with your configuration
                ...

                this.configLoaded = true;
            });
    }
}
That way your other components wouldn’t start unless the configLoaded is true and consequently the <div> is being shown.
While this would work, there’s a more elegant way of doing things: we can hook into Angular’s bootstrapping phase by using the APP_INITIALIZER token. We first create an Angular service that handles the fetching of our remote configuration, called app-config.service.ts:
import { Injectable } from '@angular/core';
import { HttpClient } from '@angular/common/http';

@Injectable()
export class AppConfigService {
  private appConfig;

  constructor(private http: HttpClient) { }

  loadAppConfig() {
    return this.http.get('/assets/data/appConfig.json')
      .toPromise()
      .then(data => {
        this.appConfig = data;
      });
  }

  getConfig() {
    return this.appConfig;
  }
}
That service is then imported in the app.module.ts together with the APP_INITIALIZER token.
// app.module.ts
...
import { NgModule, APP_INITIALIZER } from '@angular/core';
import { AppConfigService } from './app-config.service';

@NgModule({
  ...
  providers: [
    AppConfigService,
    {
      provide: APP_INITIALIZER,
      useFactory: appInitializerFn,
      multi: true,
      deps: [AppConfigService]
    }
  ],
  ...
})
export class AppModule { }
We now need to implement the appInitializerFn factory function which we can define directly in the app.module.ts (or in a separate file, as you prefer).
...
const appInitializerFn = (appConfig: AppConfigService) => {
  return () => {
    return appConfig.loadAppConfig();
  };
};

@NgModule({
    ...
})
export class AppModule
The important thing here - which you might have missed - is that the app-config.service.ts’s loadAppConfig() returns a Promise rather than an Observable as most of Angular’s HTTP calls do. The reason is that the APP_INITIALIZER only supports promises as of now.
The benefit of this approach is that when the application bootstraps, it gets our initializer function, and since we return a Promise, Angular will first resolve that Promise before it continues with the bootstrapping. As a result, within some other component, we can simply inject our AppConfigService and use its getConfig() function to access our configuration props.
How does the APP_INITIALIZER work?
The APP_INITIALIZER allows to defer the “booting” of your module, normally the AppModule. If you’re curious how this is implemented behind the scenes, well Angular is open source, so you can just go and read the source 😉.
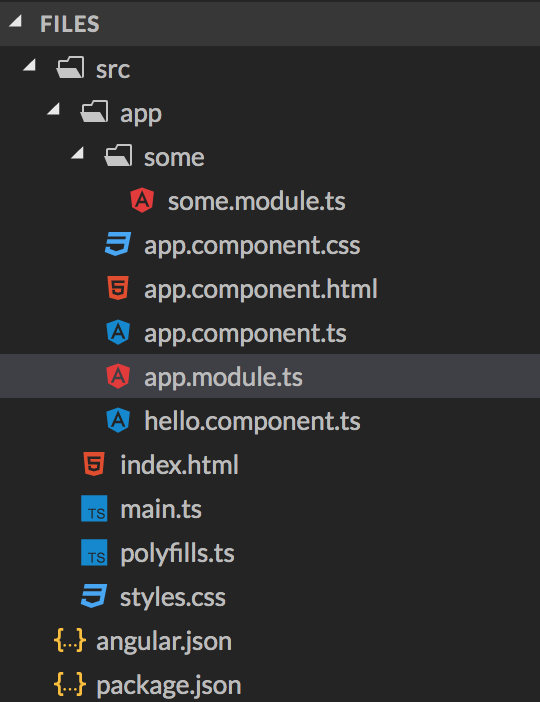
So what did I mean exactly by saying “defer the booting of your module”? It means Angular won’t instantiate the components of that model and start rendering them before the initialization Promise resolves. That’s exactly what we’ve leveraged to implement the runtime configuration approach described in this article. A common mistake though is to place initialization code in a modules constructor. Assume we have a simple app with a module SomeModule (yes I know, I’m very creative with names today).
Having an APP_INITIALIZER in the AppModule doesn’t prevent Angular from executing the constructor of the SomeModule. In fact since AppModule imports that sub-module, SomeModule’s constructor is called immediately, even before the AppModule constructor itself. Most probably though, the components of SomeModule won’t be called. The reason being is that since AppModule has an APP_INITIALIZER defined, its AppComponent won’t be instantiated until the that initializer resolves. Since AppComponent is the root component, loading the entire app, no other components will be instantiated either.
But what if I want to separate the config code per module? Normally such configuration code is global and per-app, which is why AppModule is the place to go. But nothing prevents you from adding a second APP_INITIALIZER also to SomeModule. I created a quick Stackblitz to better demonstrate the order with which these modules and components get instantiated:

Here’s the Stackblitz for you to play around with
Which one to choose?
Of course it depends on your specific use case and needs. Personally I like to keep compile-time environment files as low as only having one for dev and one for production. All other settings should come in via some backend API or JSON file as we’ve described here.
The reason is that in a proper build and deployment pipeline, I don’t want to recompile my Angular application every time I move from dev to staging to production. Rather, I want..
- to checkin my code to the repository
- my build/continuous integration server to pick up the change and create a production ready bundle (using —prod + AOT compilation).
- the build/server should deploy that to my development environment server (where automated tests, unit + UI get executed)
- whenever some QA person picks a build, he/she can move it over to the staging server for more concrete testing and
- if everything is fine, move it straight over to the production environment
Between those steps, I don’t want my application to be re-built from my repository, but rather I want to have the same binaries/javascript files to “travel between the environments”.
My environment specific files come either from the backend API (i.e. the database or server environment variables), or they can be placed as appConfig-dev.json, appConfig-staging.json, appConfig-prod.json along with my other code. It would then be the deployment step on the build server to deploy the correct one as appConfig.json to the final destination on the server.
But that’s very much topic of another post 😉.